 As has recently been discussed here, the America's Test Kitchen recipe booklet that I have (issue 2, 2008) is a source of recipes that does not disappoint. I've made other versions of this recipe in the past, and the bacon tends to be soggy. This recipe eliminates that problem - and also advocates the use of pasta water in the sauce, which I keep seeing lately.
 I should mention that for over a year now, most of the meat I've been cooking with has been local and organic, purchased from the completely fabulous Seward Coop, of which I am a member. This is true of the bacon used here.
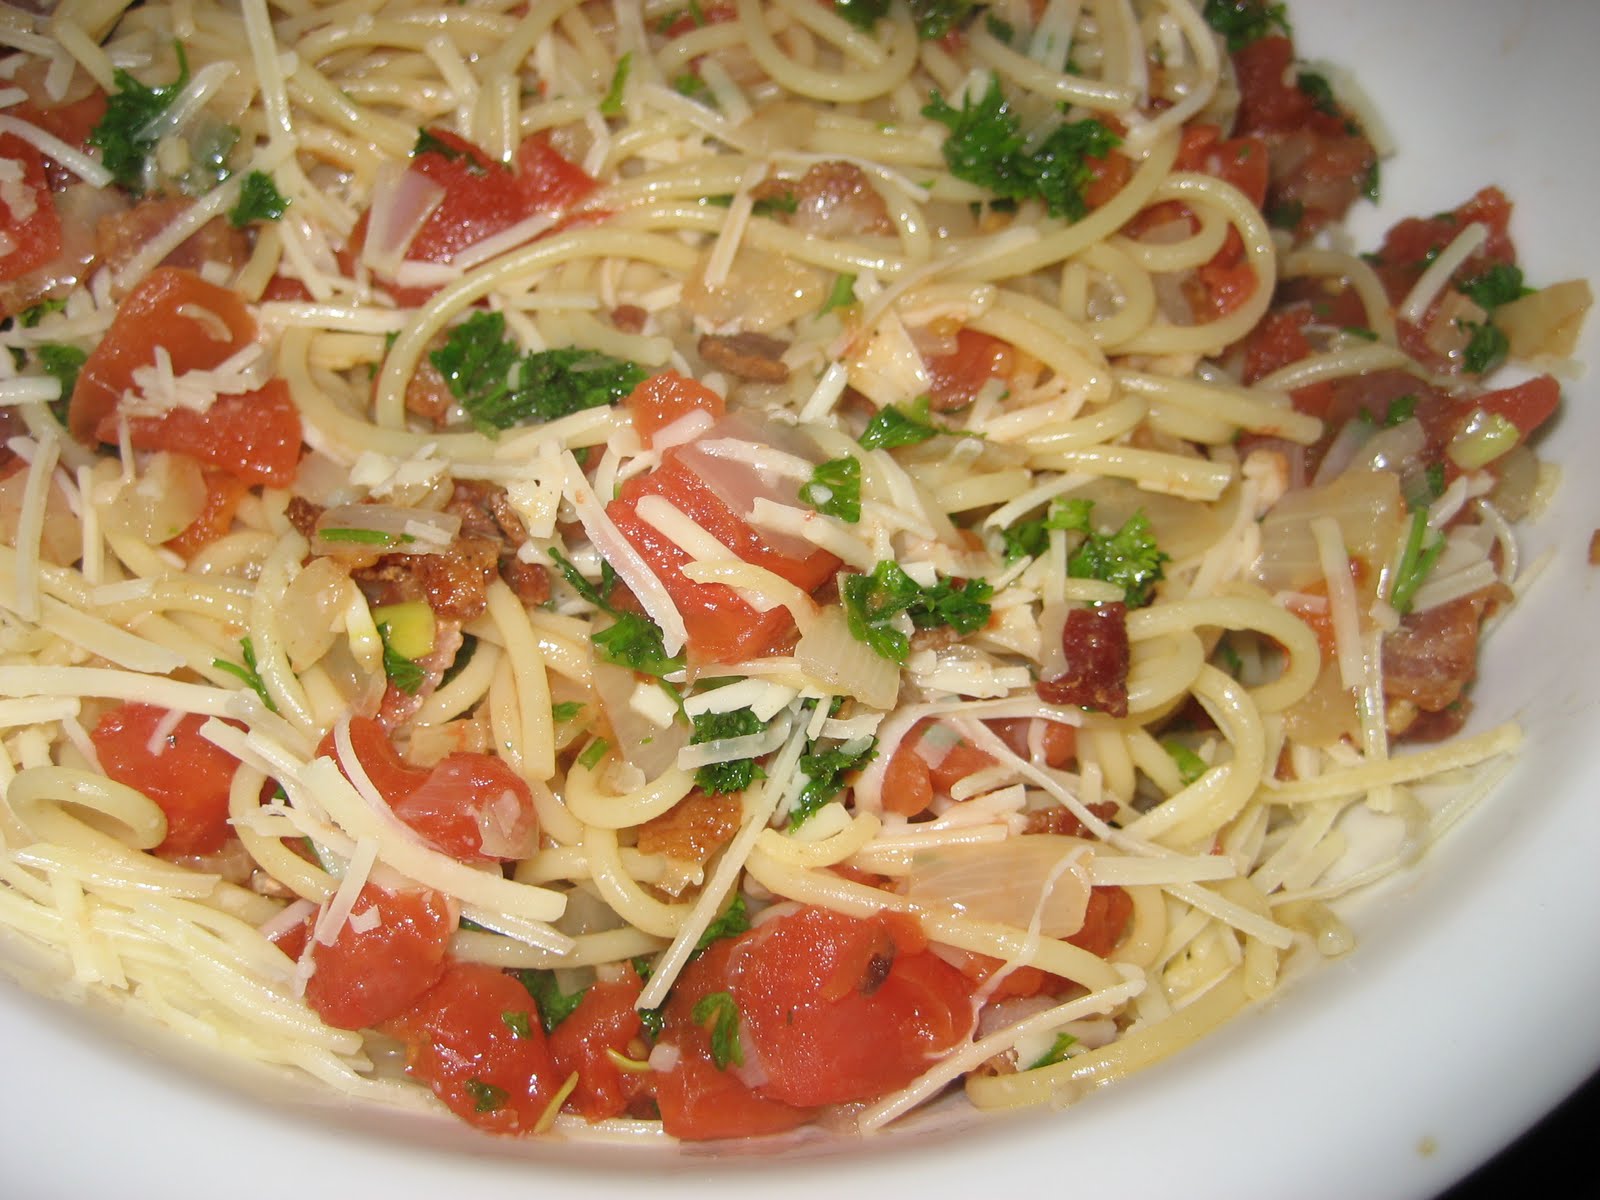
Pasta with Tomato, Bacon, and Onion
Serves 4 (and generously, at that). I halved the recipe without any problem, and still ate it for two dinners and a lunch.
6 slices bacon, chopped
1 onion, chopped fine
1 garlic clove, minced
1/2 tsp red pepper flakes
2 (14.5 oz) cans diced tomatoes
salt
1 lb spaghetti or linguine
1/4 cup chopped fresh parsley
Bring water to boil in large pot. Cook bacon (already chopped) in large skillet over medium-high heat until crisp, about 5 minutes. Transfer bacon to paper towel-lined plate and pour off all but 2 Tbsp fat. Add onion to skillet and cook until softened, about 5 minutes. Add garlic and pepper flakes and cook until fragrant, about 30 seconds. Add tomatoes and simmer until slightly thickened, about 10 minutes.
Add 1 Tbsp salt and pasta to boiling water and cook until al dente. Reserve 1/2 cup cooking water, drain pasta, and return to pot. Add tomato sauce, parsley, and cooked bacon to pot and toss to combine, adding reserved pasta water as needed. Season with salt. Serve, topped with grated Parmesan cheese.